How to rip vinyl to digital files
To rip a vinyl record to digital files (also called digitizing it), connect the turntable to your computer through a phono preamp (or use a USB turntable), record each side in Audacity as a 24-bit WAV file with peaks around −6 dB, then split the recording into tracks, tag them and export FLAC or MP3. Recording takes as long as the record plays. Splitting and tagging takes 20–30 minutes per album by hand, or about 3 minutes with VinylFlow.
Rip vinyl to digital in 8 steps
- Gather the gear: a turntable, a phono preamp, a USB connection to your computer and free recording software.
- Connect the turntable to your computer, through the phono preamp and a line input or USB.
- Clean the record and the stylus, so you record music and not dust.
- Choose the recording settings: 24-bit, at 48 kHz or 96 kHz.
- Set the recording level so the loudest passage peaks around −6 dB.
- Record each side in Audacity and export it as a WAV file.
- Split the recording into tracks and tag them, then export FLAC, AIFF or MP3.
- Back up the files on a second drive.
Ripping vinyl isn't like ripping a CD: there's no data on a record to copy, so you play it once in real time and record what comes out. The rest of this guide goes through each step.
What you need
- A turntable in good working order, with a clean stylus. Our checklist for preparing records for recording covers the stylus and turntable setup.
- A phono preamp, unless your turntable or audio interface has one built in. The next section explains why.
- A way into your computer: a USB turntable, a USB audio interface, or a phono preamp with a USB output.
- Recording software: Audacity is free for Windows, macOS and Linux.
- Disk space: a 45-minute album recorded as a 24-bit/48 kHz WAV takes about 0.8 GB, and about 1.6 GB at 24-bit/96 kHz.
- Optional: VinylFlow (free) to split the recording into tracks and tag them automatically.
Connect the turntable to your computer
A turntable's cartridge puts out a very weak signal, and records are cut with the bass turned down and the treble turned up (the RIAA curve). A phono preamp boosts the signal and reverses that curve. Without one, the recording comes out far too quiet and sounds thin.
Option 1: a USB turntable
The preamp and the USB audio interface are built in. Plug the turntable into your computer and choose it as the recording device. This is the simplest setup.
Option 2: a phono preamp and a USB audio interface
Connect the turntable to a phono preamp (or a receiver's PHONO input), then connect the preamp's output to the line input of a USB audio interface. This lets you choose or upgrade each part separately.
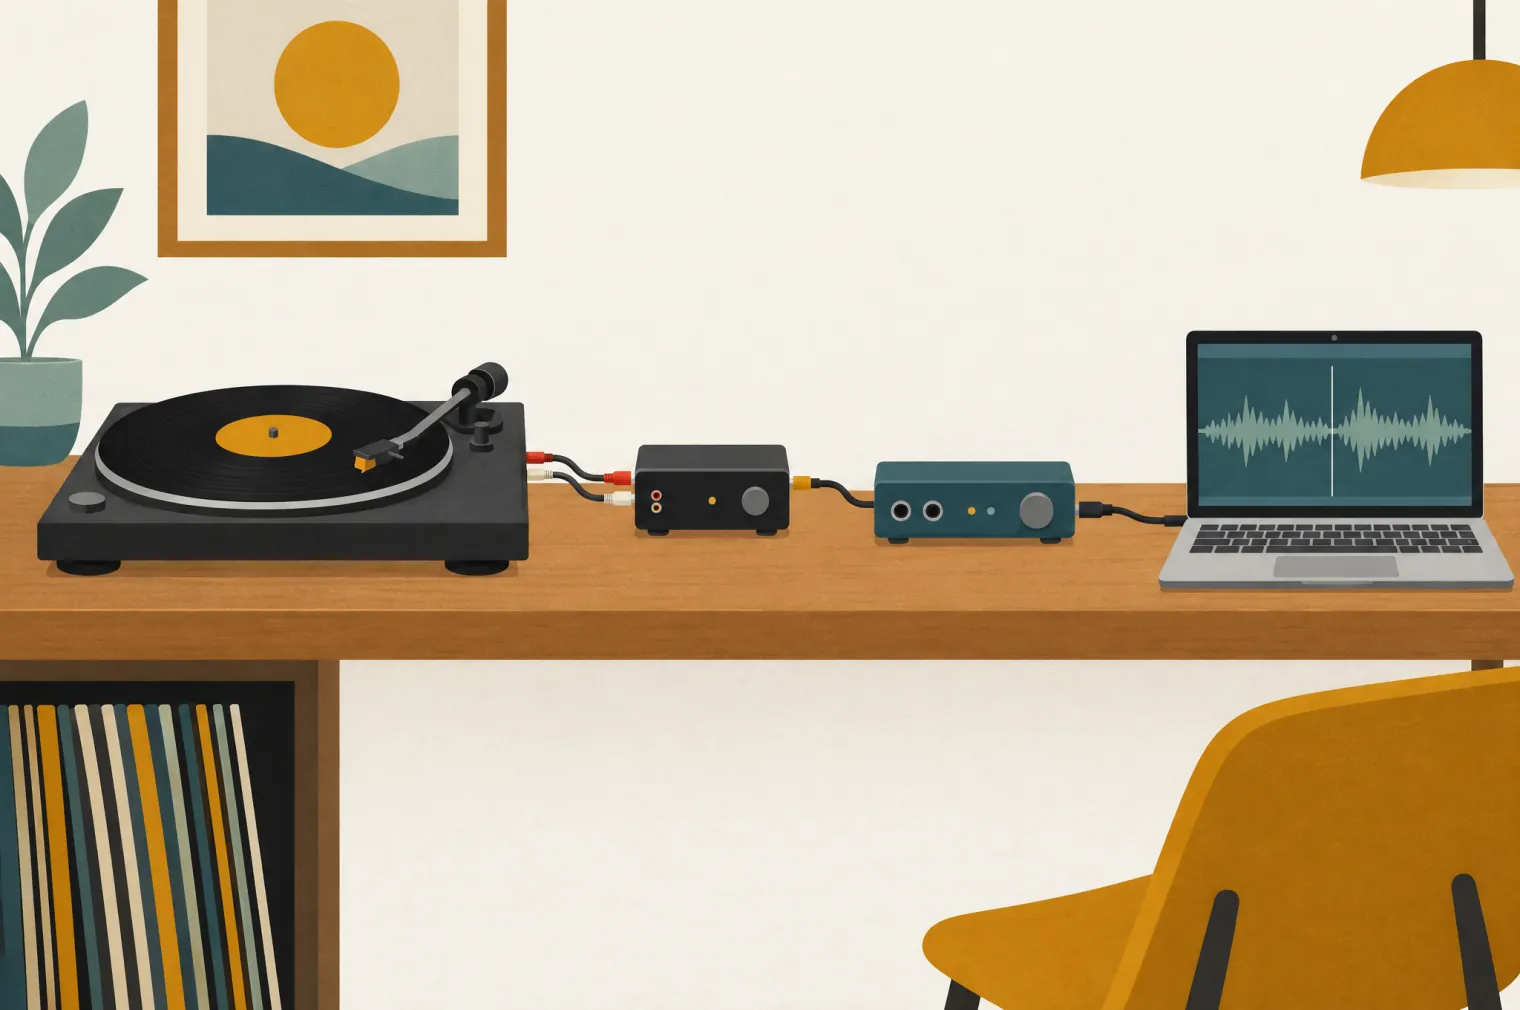
Option 3: a phono preamp with a USB output
Some phono preamps have a USB output, so they work as the audio interface too.
Many turntables have a built-in preamp with a PHONO/LINE switch: set it to LINE when you connect to a line input, so the signal isn't boosted twice. Don't use a microphone input; it will distort. If your turntable has a ground wire, connect it to the preamp's ground terminal to avoid hum.
Clean the record first
Most clicks and pops come from dust and dirt in the grooves. Brush each side with a carbon-fibre record brush just before you record it, wet-clean records that are visibly dirty, and clean the stylus. A few minutes here saves far more time than repairing clicks afterwards. Our guide on how to clean vinyl records covers each method and what to avoid.
Choose your recording settings
Record at 24-bit. It gives you room to keep the peaks well below the maximum without losing detail in quiet passages. For the sample rate, 48 kHz is a good default; 96 kHz takes twice the space and is worth it if you're archiving or plan heavy restoration later. 44.1 kHz is fine if you only want CD-quality copies.
Use the same sample rate in Audacity and in your computer's settings for the interface (Audio MIDI Setup on a Mac, Sound settings on Windows). A mismatch is a common cause of recording errors.
| Format | WAV size per minute | Good for |
|---|---|---|
| 16-bit / 44.1 kHz | 10.6 MB | CD-quality listening copies |
| 24-bit / 48 kHz | 17.3 MB | A good default for recording vinyl |
| 24-bit / 96 kHz | 34.6 MB | Archiving, or heavy restoration later |
More on bit depth, sample rate and file formats in Vinyl to FLAC.
Set the recording level
- Play the loudest part of the record and watch Audacity's recording meter.
- Adjust the gain on your preamp or interface first, then Audacity's input level if you need to.
- Aim for peaks around −6 dB. Never let the meter reach 0 dB: clipped audio can't be reliably repaired.
Once a side starts, leave the level alone. Don't normalize or compress during recording; you can raise the volume afterwards if the recording is quiet.
Record each side in Audacity
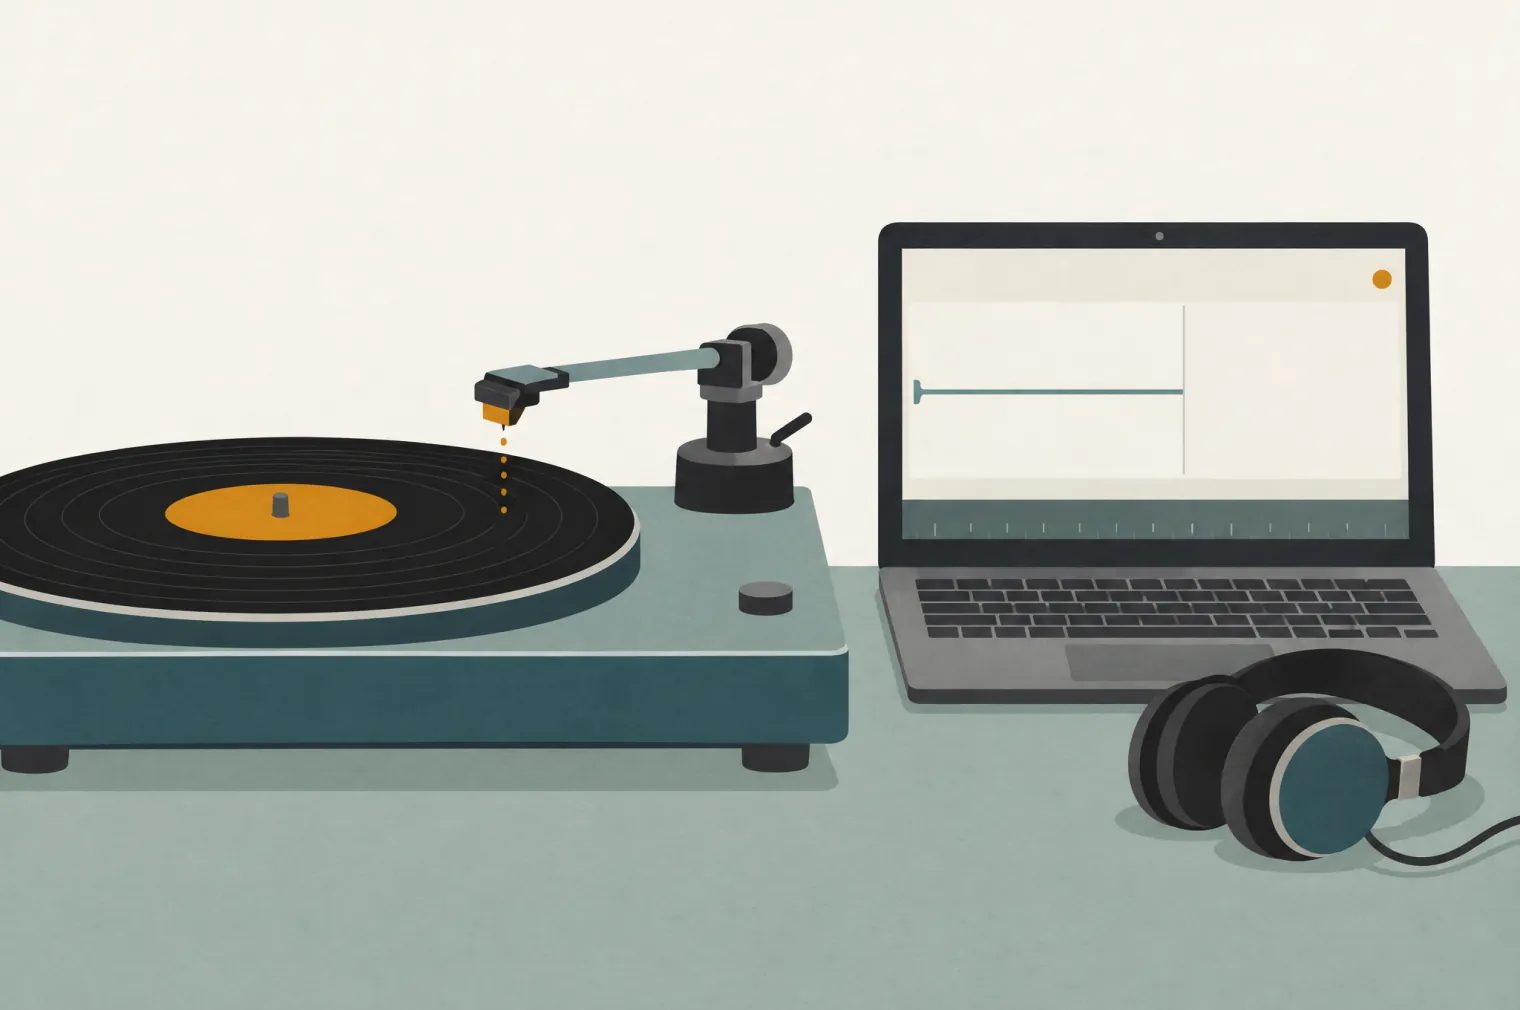
- Open Audacity and choose your turntable or interface as the recording device in Audio setup.
- Press Record, then lower the needle onto the lead-in groove, so the recording starts with a few seconds of silence.
- Let the side play to the end, then press Stop once the needle reaches the run-out groove.
- Flip the record and record side B, on the same track or a new one.
- Export the recording as a WAV file with 24-bit PCM encoding, from Audacity's File menu. You can save the whole album as one file or one file per side.
Keep the silence between songs. VinylFlow and Audacity's Label sounds both use those gaps to find where each track starts and ends. Audacity 4.0, released in September 2026, rebuilt the interface, so some menus look different from older tutorials.
Split the recording into tracks and tag them
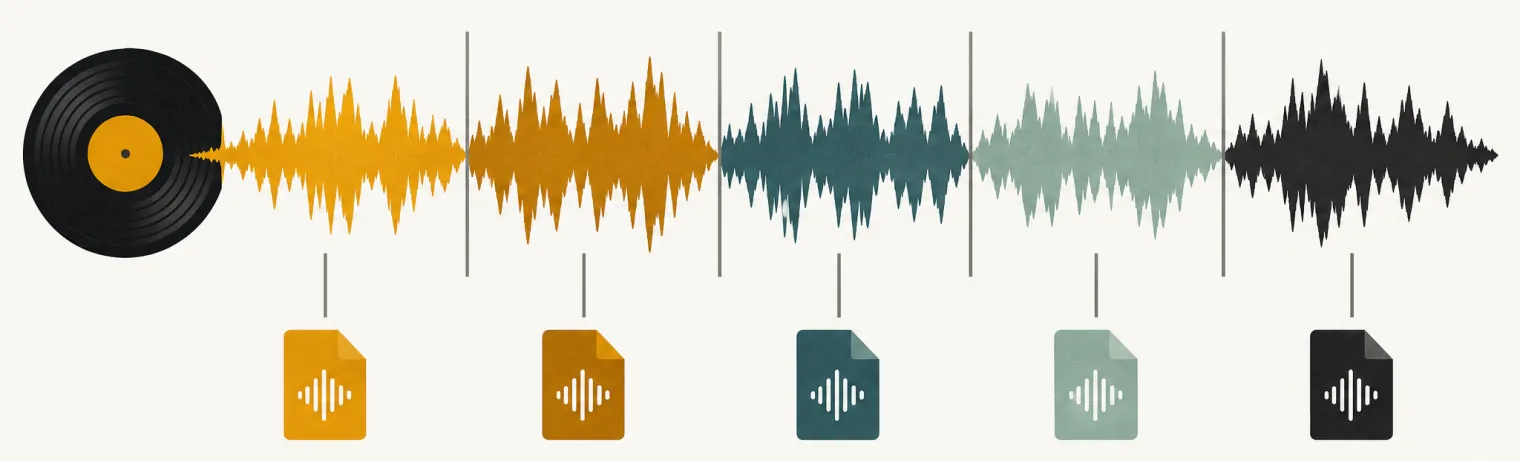
With VinylFlow: about 3 minutes
- Open VinylFlow and drop in the WAV or AIFF file (it needs to be at least 60 seconds long).
- Pick your pressing from the Discogs results (VinylFlow searches from the file name; edit the search if needed). It loads the tracklist, year, label and cover art.
- VinylFlow marks where each track starts and ends, using the Discogs track lengths and the silences between songs.
- Check the waveform. If the track count is off, tell VinylFlow how many songs there are and Smart Rescan finds them. Drag any boundary to fine-tune it, and preview each track.
- Choose FLAC, MP3 or AIFF, switch on Clean Up Clicks & Rumble if you want it, and click Process.
Each album gets its own folder, such as Artist - Album/A1-Track Name.flac, with the artist, album, title, track number, year, label and cover art in every file. The first time you open VinylFlow, it asks for a free Discogs personal access token; the install guide shows how to get one.
By hand in Audacity: 20–30 minutes
- Select the whole recording and choose Analyze → Label sounds. It places a label on each song, using the silences between them. If songs merge or split in the wrong place, change the threshold or minimum silence and run it again.
- Click each label and type the track title.
- Export each labelled region as its own file. In Audacity 3.7 that's Export Multiple with Labels selected; Audacity 4 brought the option back in version 4.0.1.
- Tag each file: type the details into Audacity's metadata editor, or tag the files afterwards with MusicBrainz Picard, which is free and looks them up in MusicBrainz.
- Find the cover art and add it to each file.
Not sure which tools to use? We compared them in Best free vinyl ripping software.
Pick a format: FLAC, AIFF or MP3
- FLAC: lossless and smaller than WAV, with tags and cover art. Best for keeping, and it plays in most music players and media servers.
- AIFF: lossless and uncompressed. Choose it if you use Apple's Music app, which doesn't import FLAC.
- MP3 (320 kbps): small files that play everywhere, but some detail is thrown away. Keep a lossless copy as well.
Back up your files
Keep your FLAC or WAV files as the master copy: you can always make MP3s from them later, but not the other way round. Keep at least two copies on different drives, one of them away from home.
Questions about ripping vinyl to digital
Is ripping vinyl the same as digitizing it?
Yes. Ripping, digitizing, converting and transferring vinyl all mean the same thing: playing the record once and recording it to a file on your computer. Unlike a CD, a record can't be copied faster than it plays, so every rip is a real-time recording.
Can I rip vinyl to MP3?
Yes. Record the side as a WAV file first, then export the tracks as MP3. VinylFlow exports MP3 at 320 kbps, and Audacity can export MP3 too. Keep the WAV or a FLAC copy as your master, because MP3 throws some detail away and you can't get it back.
Can I rip vinyl without a USB turntable?
Yes. Any turntable works if you add a phono preamp (or use a receiver's PHONO input) and a USB audio interface, or a phono preamp with a USB output. If your computer has a line input, you can plug the preamp straight into that. Don't use a microphone input.
Do I need a phono preamp to record vinyl?
Yes, unless your turntable or audio interface has one built in. A turntable puts out a much weaker signal than other audio sources, and records are cut with the bass turned down and the treble turned up; the phono preamp boosts the signal and reverses that curve. USB turntables have the preamp built in.
What bit depth and sample rate should I use to record vinyl?
Record at 24-bit, at 48 kHz for everyday use or 96 kHz if you're archiving. 16-bit at 44.1 kHz is CD quality and fine for listening copies, but 24-bit gives you more room when setting levels. Whatever you choose, use the same sample rate in Audacity and in your computer's sound settings.
How long does it take to digitize a vinyl record?
Recording takes as long as the record plays, because it happens in real time. Splitting the recording into tracks and tagging them takes 20–30 minutes per album by hand in Audacity, or about 3 minutes with VinylFlow.
Should I record each side of a record as a separate file?
Either works. VinylFlow finds the tracks across a whole file, so you can save the album as one recording or one file per side. One file per side makes it easier to redo a side if something goes wrong.
Can I digitize vinyl for free?
Yes. Audacity records for free, VinylFlow splits and tags the recording for free, and the Discogs account VinylFlow uses is free too. The only cost is hardware: a USB turntable, or a phono preamp and a USB audio interface.
Sources
- Audacity manual: recording from a turntable (phono preamp, line input), USB turntables, LP digitization workflow (peaks around −6 dB), matching sample rates, Label sounds.
- Audacity release notes: 4.0.0 and 4.0.1 (export each labelled region).
- VinylFlow: source code and README.
Skip the manual splitting
VinylFlow splits your recording, tags it from Discogs and exports FLAC, MP3 or AIFF in about 3 minutes per album. Free for macOS, Windows and Docker.